How to install Kubernetes Clusters Using Terraform?
 Ashish Pandey

What is Kubernetes?
Kubernetes is a container orchestration platform that can be used to deploy and manage a containerized applications. Generally, Microservices-based applications are first converted into Docker (or other container runtimes) images and then these microservices are deployed unsign Kubernetes.
Kubernetes Cluster is a set of multiple nodes or Virtual Machines either on-premises are on the cloud. Public cloud service providers provide managed Kubernetes clusters. In this example, we shall see how to set up a Kubernetes using AWS’s Elastic Kubernetes Service by running a terraform script.
An Amazon EKS has two main parts: Control Plane and the worker nodes that are registered in the Control Plane. The virtual machines which are a part of the Kubernetes Cluster are known as the Worker node. These nodes are made on your account so that they can establish a connection to your cluster’s control panel. These panels are registered by the control panel.
What is Terraform?
Terraform is an open-source infrastructure automation tool that is mostly used to create hybrid and multi-cloud environments. Terraform is built by Hshicorp and uses Hashicorp Configuration Language (HCL) to write easy to read scripts. Terraform can work with more than 70 providers including AWS, Azure, GCP, and in fact any API provider such as Kubernetes, Docker, Github, etc.

Steps to install Kubernetes Cluster By using Terraform
Requirements:
- Terraform: Terraform needs to be installed. This will help you to provision the AWS EKS.
- Terraform Scripts: It contains the scripts and information of how many instances we need for our Kubernetes Clusters, Security Groups, and Auto Scaling group details.
- Kubectl CLI tool: After installing the script you need to install this tool on your laptop as it helps in deploying applications on the Kubernetes cluster.
- AWS Account: Admin access with sufficient privilege to create and manage AWS EKS.
- Aws CLI tool: It will provide you with a separate credential for Kubernetes access. It will simplify your bootstrap process.
Step 1 - Install Terraform
Download appropriate version and package of Terraform -
https://www.terraform.io/downloads.html
Download the single binary provided by Terraform and install Terraform by unzipping it and moving it to a directory which is properly added in the $PATH.
Verify it by running
$ terraform
Step 2 - Install and configure AWS CLI
If you are using Linux/Unix machine install awscli using pip.
$ pip install awscli
For more details on how to install AWS CLI use the link given below-
https://docs.aws.amazon.com/cli/latest/userguide/install-cliv2-linux.html
Get access to the credentials of your AWS account. That includes aws_access_key and aws_secret_access_key. Make sure that the user corresponding to these credentials has enough privileges to create and manage required AWS resources.
Configure the AWS CLI with the AWS credentials using -
$ aws configure
Step 3 - Install kubectl and wget
After Terraform is installed, download the kubectl tool from online sites and then install it on your device. Then, verify the downloaded version of the tool with the SHA-256 sum for your binary. You will have to check the SHA-256 sum for your binary. After that, apply them to execute permissions for the binary that you have downloaded. Once completed, copy the binary to a folder in your Path, and then you have to add $HOME/bin path to your shell initialization file.
Download kubectl and unpack the binary. Make it executable
$ curl -LO https://storage.googleapis.com/kubernetes-release/release/v1.18.0/bin/linux/amd64/kubectl
$ chmod +x ./kubectl
$ mv kubectl /usr/bin/
$ kubectl version --client
For wget installation -
- If you are using a centos machine -
$yum install wget
- If you are using a ubuntu machine -
$apt install wget
Step 4: Initialize terraform workspace
Download the code from the repository
$ git clone https://github.com/ashishrpandey/terraform-kubernetes-installation
$ cd terraform-kubernetes-installation
To launch and configure an Amazon EKS Cluster, specify the Amazon Subnets in which your Clusters will be used. Your internet connection must have a static IP Address for each of your clusters. The Amazon EKS needs to have high availability, so for that, it needs to have at least two subnets from two different availability zones.
Clone the terraform scripts kept at a GitHub repository for creating VPC, Amazon EKS setup. Customize these scripts to change the address range of VPC and subnet in the different availability zones in your region, do it only if you need to.
Validate all the .tf files.
Initialize terraform workspace -
$terraform init
You shall get output that looks like
….
Terraform has been successfully initialized!
You may now begin working with Terraform. Try running "terraform plan" to see any changes that are required for your infrastructure. All Terraform commands should now work.
…
Check what all the resources would be created
$terraform plan
$terraform validate
Create EKS cluster and any other required resources
$terraform apply --auto-approve
Step 5: Configure kubectl
Configure kubectl for Amazon EKS. For this, use the AWS configuration before creating the kubectl file. In AWS configuration, create your profile and add it to the kubeconfig file. On successful completion, test your configuration. After that, check what output it is giving.
To configure kubectl. Edit the following command with the cluster name and region, from Terraform's output.
This will get the access credentials for your cluster and automatically configure kubectl.
$aws eks --region us-east-2 update-kubeconfig --name training-eks-8Pqm08DI
$ kubectl get nodes
Step 6: Deploy your application
Your EKS cluster is ready now. you can start deploying your applications.
For example, clone our repository and deploy the sample applications
$ git clone https://github.com/ashishrpandey/example-voting-app
$ cd example-voting-app
$ cd k8s-specifications/
$ kubectl apply -f .
Check all the pods and services created in this example.
$ Kubectl get all
Do whatever other development/testing you need to do on this Kubernetes cluster.
Step 7: Clean-up
In case you are done with your experiments, do not forget to destroy your cluster (I am assuming you are not using this in production). Terraform destroy will delete all the resources created by terraform script.
Go to the Terraform workspace directory and execute
$ terraform destroy --auto-approve

Keywords : kubernetes terraform Technology
Recommended Reading
Getting started with ISTIO
Istio is a tool to handle service mesh. Istio enables one you to connect, secure, control, and observe microservices that are part of a cloud-native application. Istio uses Envoy as a service proxy that in turn is used as a sidecar container. Istio is orig...
Using Terraform with AWS
Terraform is an open-source software made by Hashicorp Inc and the open-source community. It is an Infrastructure-provisioning tool that uses a high-level language. The language which it uses is known as Hashicorp Configuration Language (HCL). Terraform ca...
Using Terraform with Azure
Terraform is open-source software built by Hashicorp along with the community. The objective is to provide automation for any API-based tools. Since all the cloud service providers expose an API, So Terraform can be used to automate and manage hybrid-cloud ...
How to get started with Helm on Kubernetes?
Helm is a package manager, which provides an easy way to manage and publish applications on the Kubernetes. It was first built by the collaboration between Dies and Google in the year 2018.

How to build a Multi-Cloud and Hybrid-Cloud Infrastructure using Terraform?
In the era of cloud-wars, the CIOs often have a hard time adopting a single cloud. Putting all their infrastructure into one cloud is a risky proposition. So the best approach is to use the multi-cloud or hybrid cloud strategy. Having multiple cloud provide...
Get Kubernetes Certified
Kubernetes is increasingly becoming the de-facto standard for container-orchestration. It is used for deploying and managing microservice-based applications. It also helps in scaling and maintaining as well. It is open-source software that was initially rel...
What is Helm in Kubernetes?
In this article, we would be discussing what Helm is and how it is used for the simple deployment of applications in the Kubernetes network. Continue reading to learn more about Helm in Kubernetes.
How to do Cloud Automation using Terraform?
Cloud Automation is coming together of Cloud Computing with Infrastructure Automation. As cloud adoption is accelerated in the industry, the industry needs to automate the management of cloud infrastructure and cloud services. All of the public cloud servic...
Know more about Terraform
Terraform is a tool made by Hashicorp. It is also used as a tool for cloud-automation. It is an open-source software to implement “Infrastructure as Code (IaC)”. The language used to write the terraform script is known as Hashicorp Configuration Language (H...
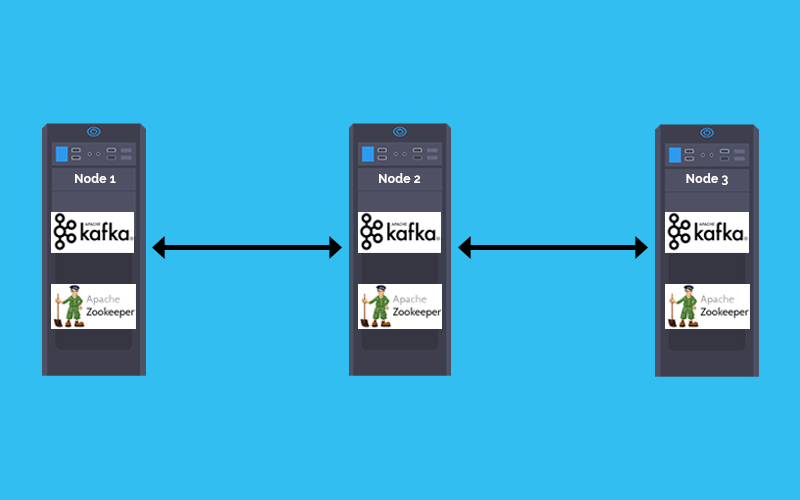
How to deploy Kafka and Zookeeper cluster on Kubernetes
In a Microservices based architecture message -broker plays a crucial role in inter-service communication. The combination of Kafka and zookeeper is one of the most popular message broker. This tutorial explains how to Deploy Kafka and zookeeper stateful se...
How to install Kubernetes Cluster on AWS EC2 instances
When someone begins learning Kubernetes, the first challenge is to setup the kubernetes cluster. Most of the online tutorials take help of virtual boxes and minikubes, which are good to begin with but have a lot of limitations. This article will guide you t...
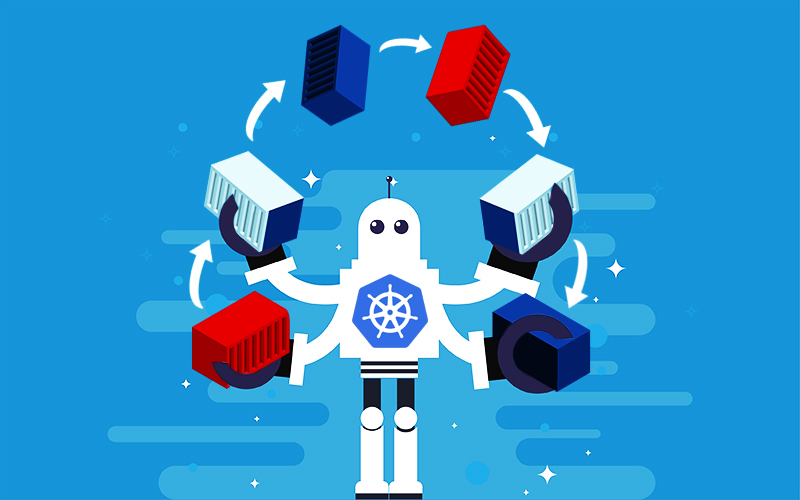
Container is the new process and Kubernetes is the new Unix.
Once a microservice is deployed in a container it shall be scheduled, scaled and managed independently. But when you are talking about hundreds of microservices doing that manually would be inefficient. Welcome Kubernetes, for doing container orchestration ...